What Is Kali Linux, How Is It Installed on a Virtual Machine
In today's article, I'll show you how to install Kali Linux, a Linux operating system distribution mostly used for hacking purposes, on our virtual machine.…

Hello everyone. :) In today’s article, I’ll show you how to install Kali Linux, a Linux operating system distribution mostly used for hacking purposes, on our virtual machine. I’ll be using VirtualBox as the virtualization technology here. You can reach the article I previously wrote about installing VirtualBox through the link below. https://www.kadircirik.com/virtualbox-nedir-kurulumu-nasil-yapilir-resimli-anlatim/
What Is Kali Linux?
Kali Linux is a Debian-based Linux distribution designed for penetration testing and digital forensics research. It’s developed and distributed by Offensive Security. It contains hundreds of tools for hacking, digital forensics, and penetration testing. This system includes many free tools, ranging from penetration testing and auditing web vulnerabilities on a network to protecting against them. As it continues to develop day by day, it remains just as popular a choice as desktop Linux distributions.
Installing Kali Linux
- In order to install Kali Linux on our virtual machine, we first need to download its iso or ova file. Like all Linux distributions in general, Kali Linux can be downloaded for free from its own website.
When we click on the link, the https://www.kali.org/downloads/ page will appear in front of us.
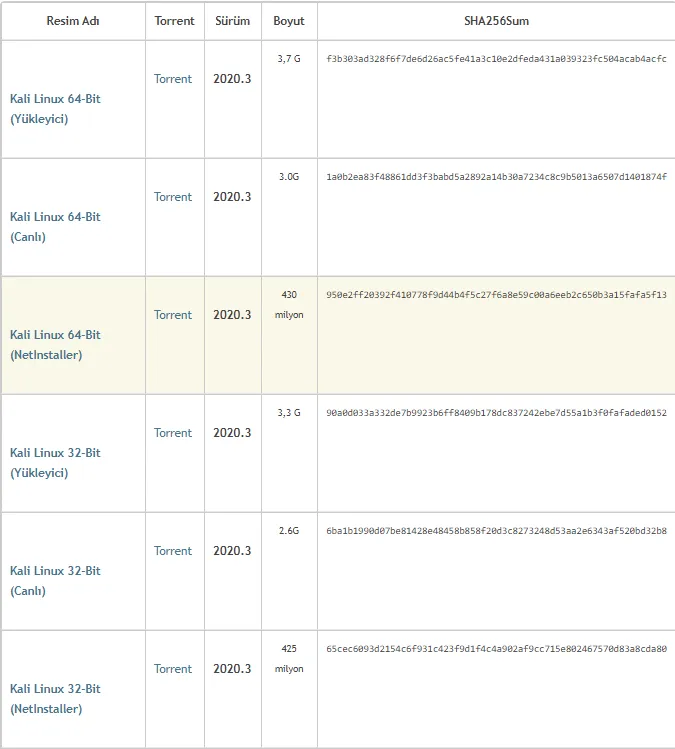
From here, there will be download options depending on whether your computer is 32-bit or 64-bit. Since my computer is 64-bit, I’m choosing the one that’s appropriate for it.
- The next step is to open the ova file we downloaded by double-clicking it in VirtualBox.
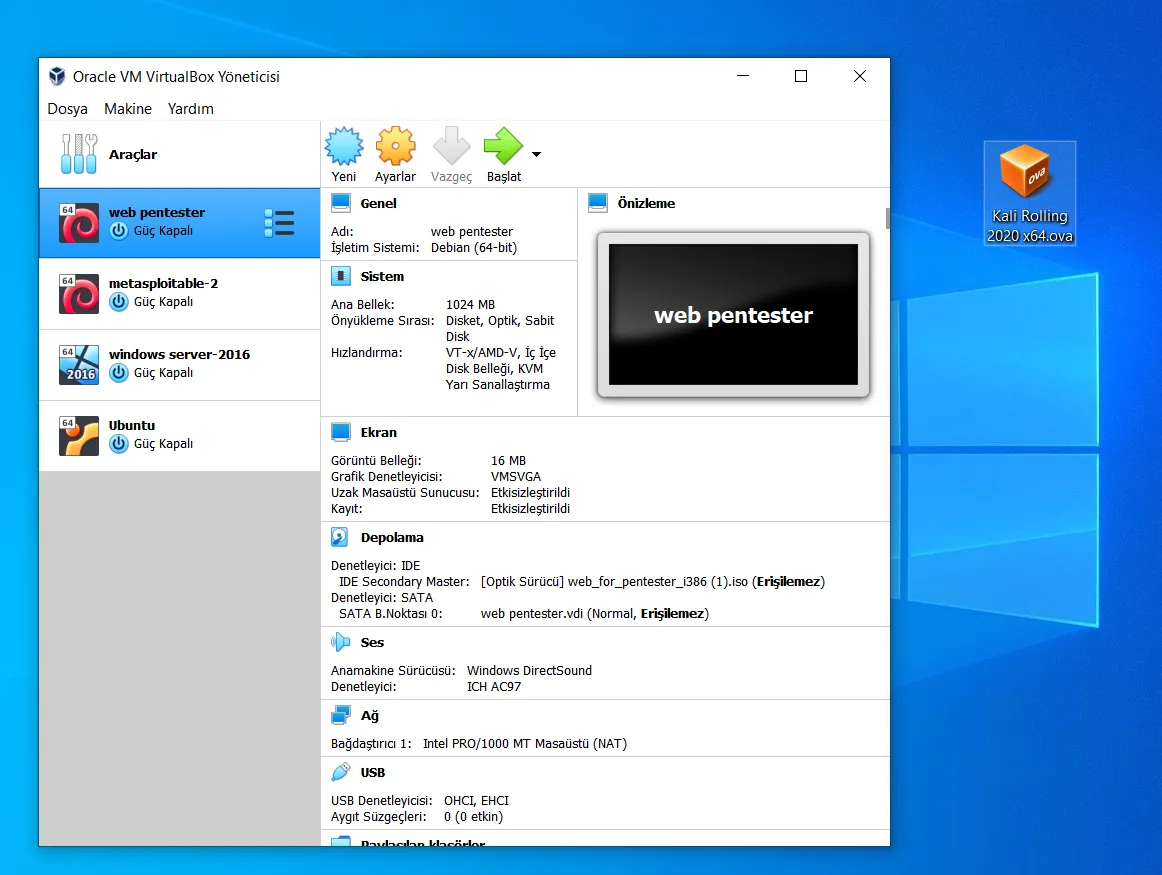
- After double-clicking our ova file, a screen like the one below will appear. Our goal here is to import our ova file and wait for it to be set up. We don’t need to change anything in the default settings for this. However, it’s important for us that the network setting in the bottom right is set to NAT network. The importance of the NAT network setting is that it allows our virtual machine to connect to the internet through our host machine, i.e., our computer, as if it were on a wired network.
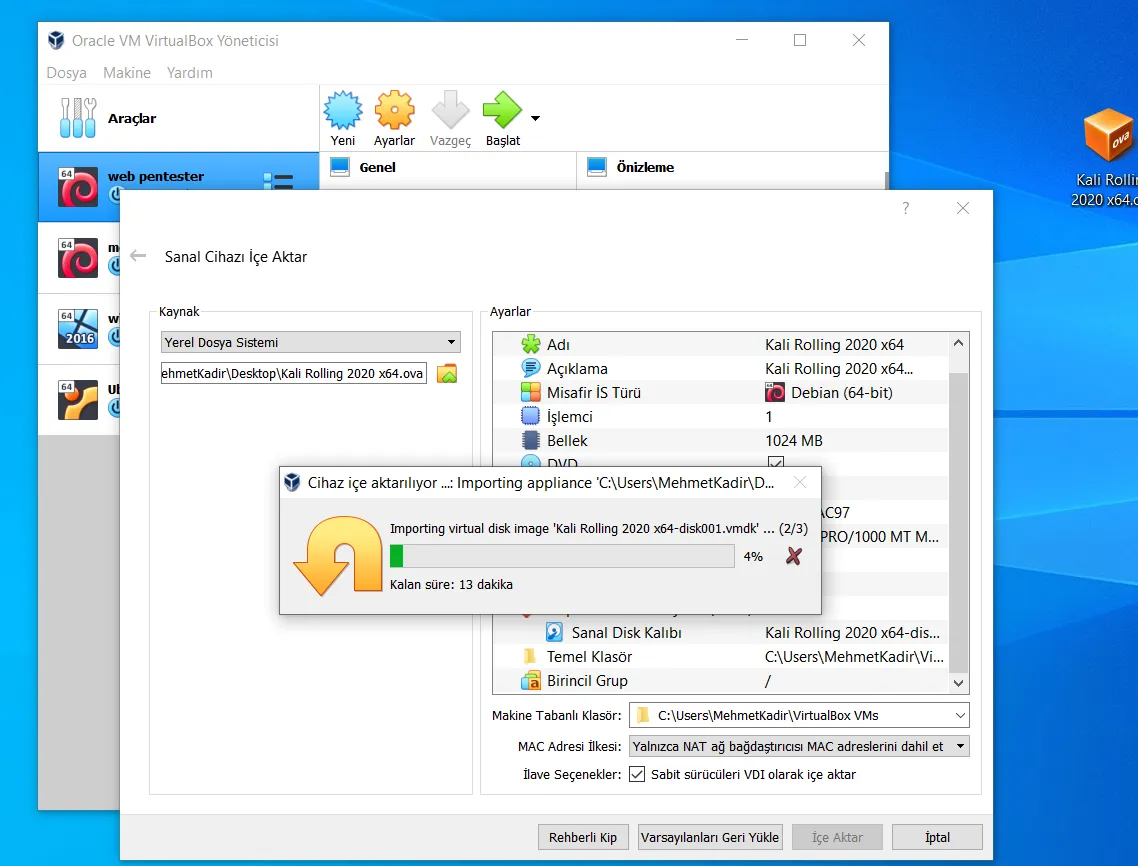
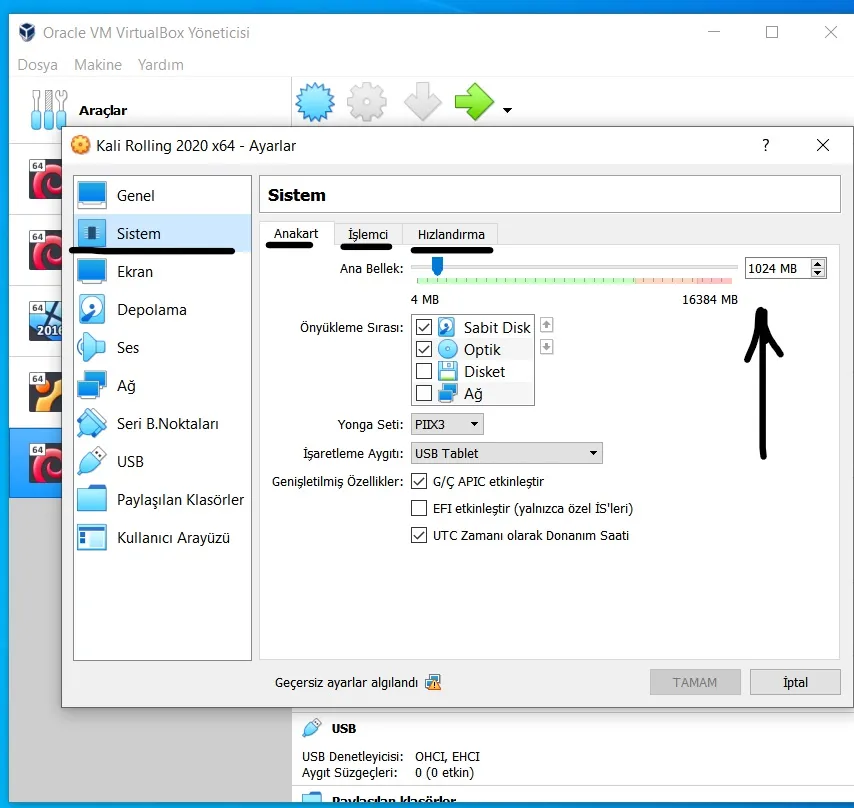
- Kali Linux is now installed on our virtual machine. Once the installation is complete, you can adjust the settings you want from the settings menu. Another thing you need to pay attention to here is making sure the version matches your computer, whether it’s 64-bit or 32-bit.
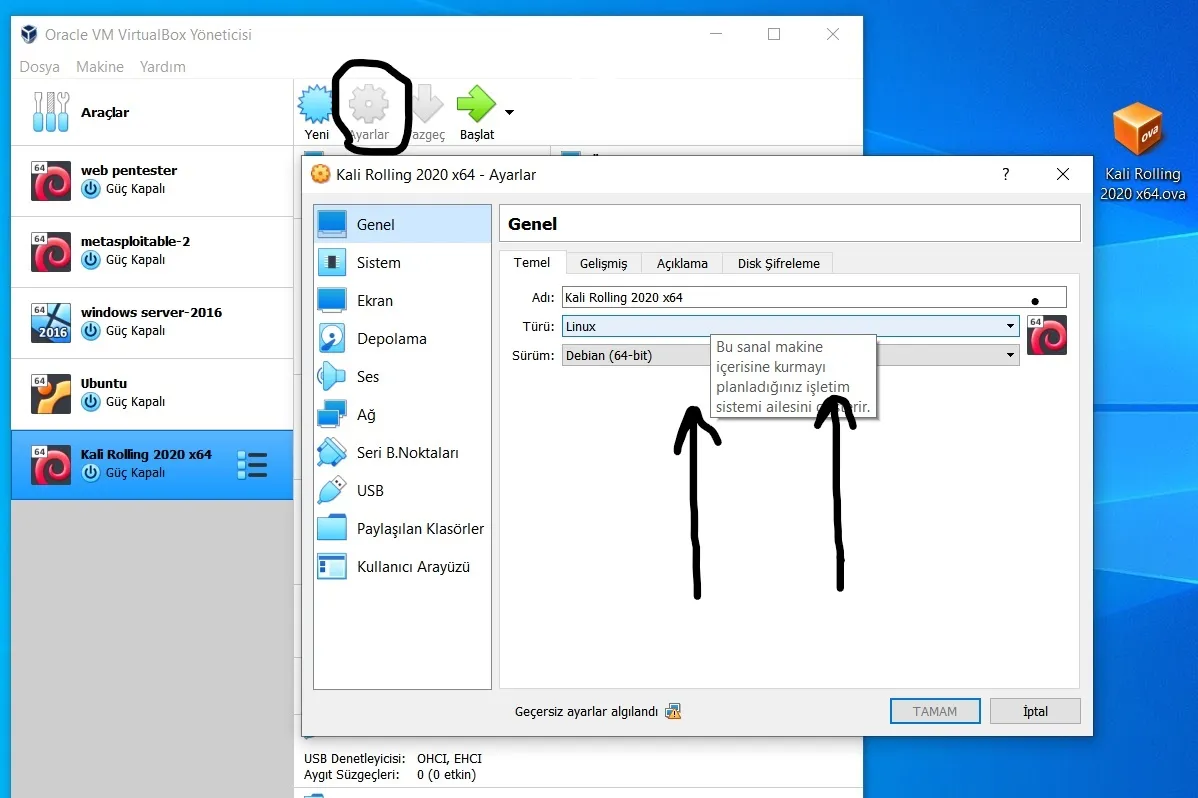
- Another important part of the settings for us is the RAM we allocate to our virtual machine. 1024 MB of memory will be enough for our virtual machine. However, if it runs slowly, you can change the RAM to 2048 MB as well.
- Now let’s run our virtual machine by pressing the start button.
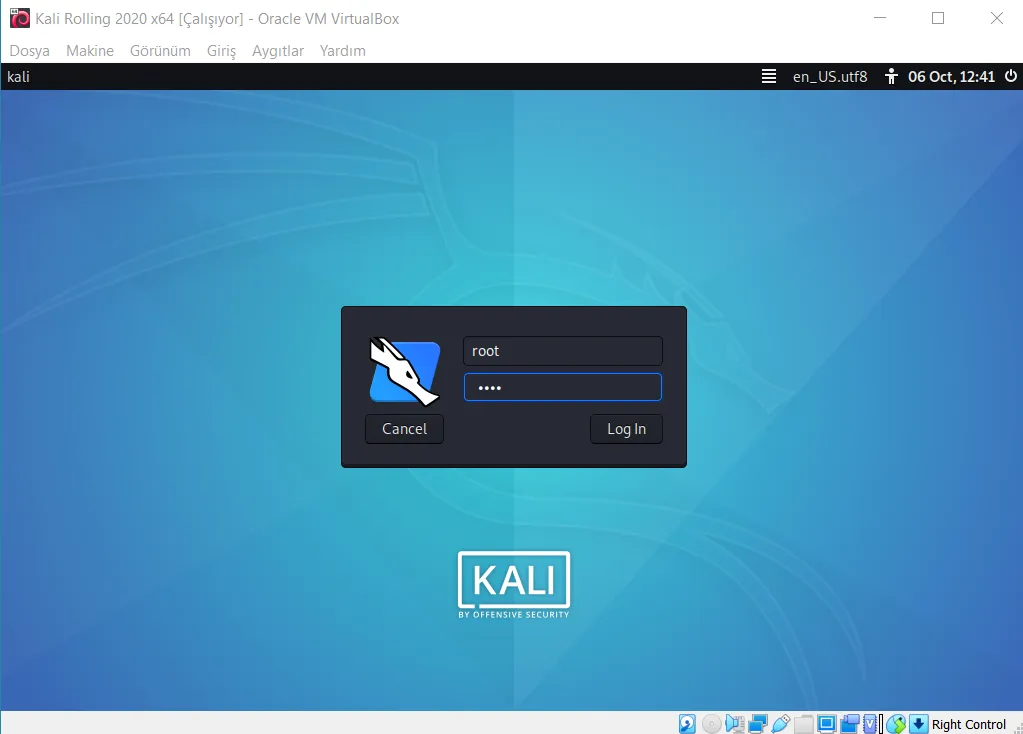
- After starting our machine, we’ll be presented with a username and password screen. For all users,
- username: root
- password: toor.
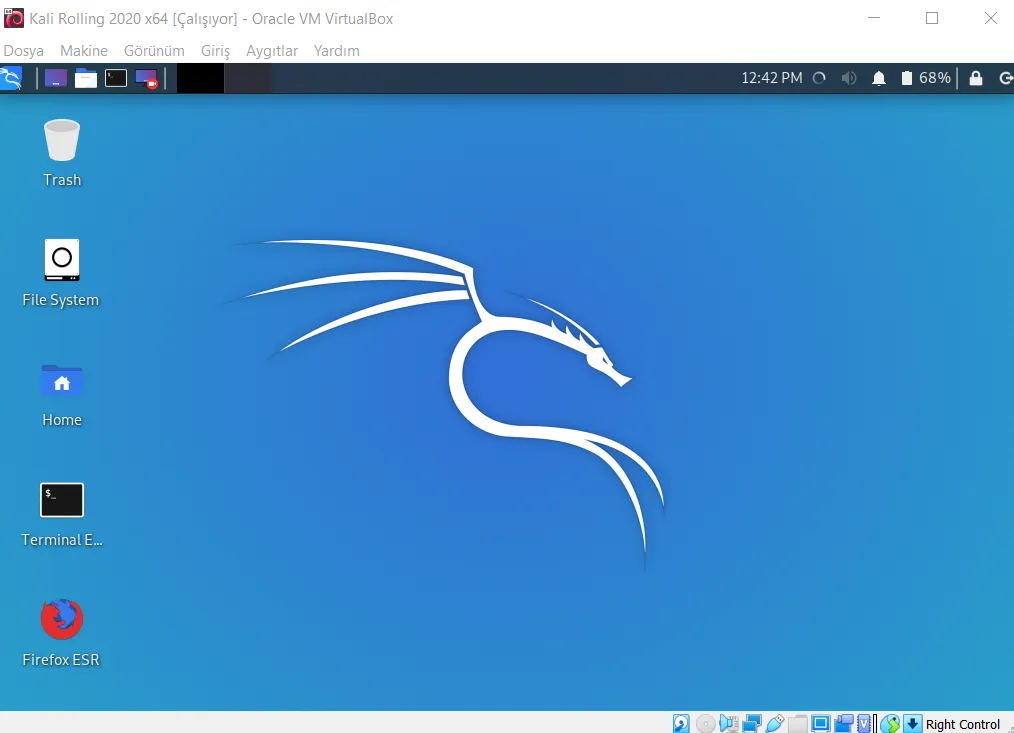
- Finally, the interface of our Kali Linux operating system that we installed will look like the one shown below.
Today, dear readers, I’ve walked you through installing the Kali Linux operating system with the help of VirtualBox. I hope it was useful. Happy hacking :)