Mail Header Analizi
In this article, I tried to talk to you about email header fields and their importance from a digital forensics perspective. I tried to explain step by…

Hello everyone. :)
In this article, I tried to talk to you about email header fields and their importance from a digital forensics perspective. I tried to explain, step by step, how to view and analyze email headers in Gmail.
Attackers looking to carry out cyberattacks using email, as well as experts investigating cases related to such crimes, scan the relevant emails. Since attackers craft fake messages to avoid detection, experts must perform email header analysis to extract and collect important evidence.
Email headers contain important information about the path a message travels before reaching its destination. This information includes the names of the recipients and senders, the time the email was sent/received, the email client, the internet service provider (ISP), the sender’s IP address, and so on. This information, along with the other email header fields, can help determine the content of the email message.
What Are Email Headers?
The email header is a fundamental part of the transmission that forms the body of the email being sent. In front of this core content sit header lines containing information such as the sender, recipient, subject line, and date. These pieces of information are parsed by the email client, which makes certain parts visible so we can better understand the content of the message.
The best way to conceptualize an email header is to examine what a full email header example looks like. You can check out the example in the What Is My IP section.
How to Perform Email Header Analysis in Gmail?
Before analyzing an email header, the following steps are performed in order:
- Open Gmail.
- Find the message you want to analyze.
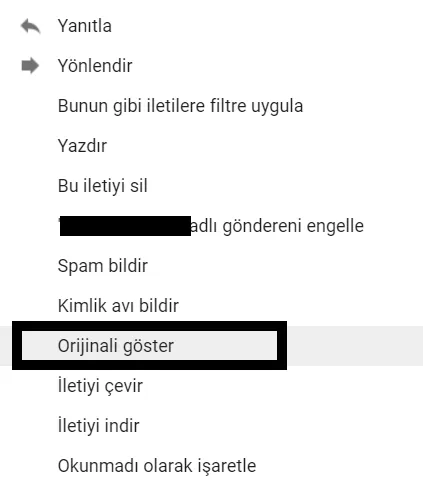
- Click the three vertical dots in the top-right corner of the message.
- Click “Show Original”.
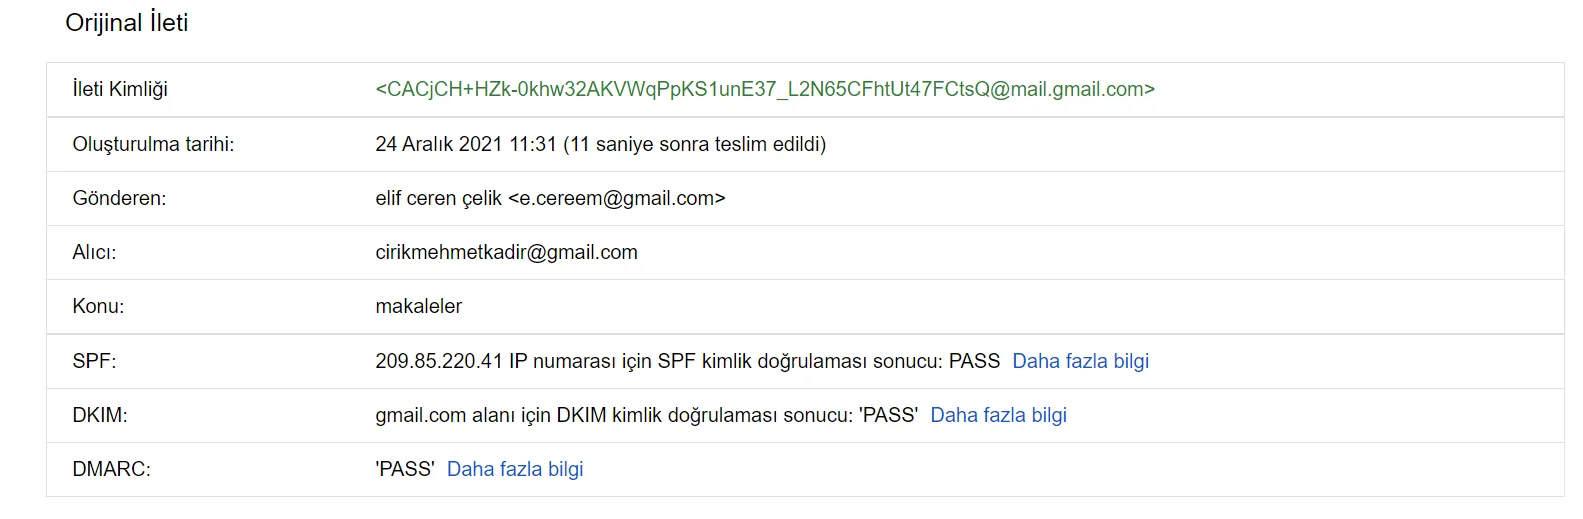
Here, you’ll see a brief summary of the information contained in the header. If you scroll down, you’ll also see the full text of the email header, which ends right before the message’s body content.
For better viewing, you can either examine these parameters directly or copy the email header into an email header analysis tool. For example, you can copy and paste the text into the email header analyzer.
Here, the full text of the email header is displayed.
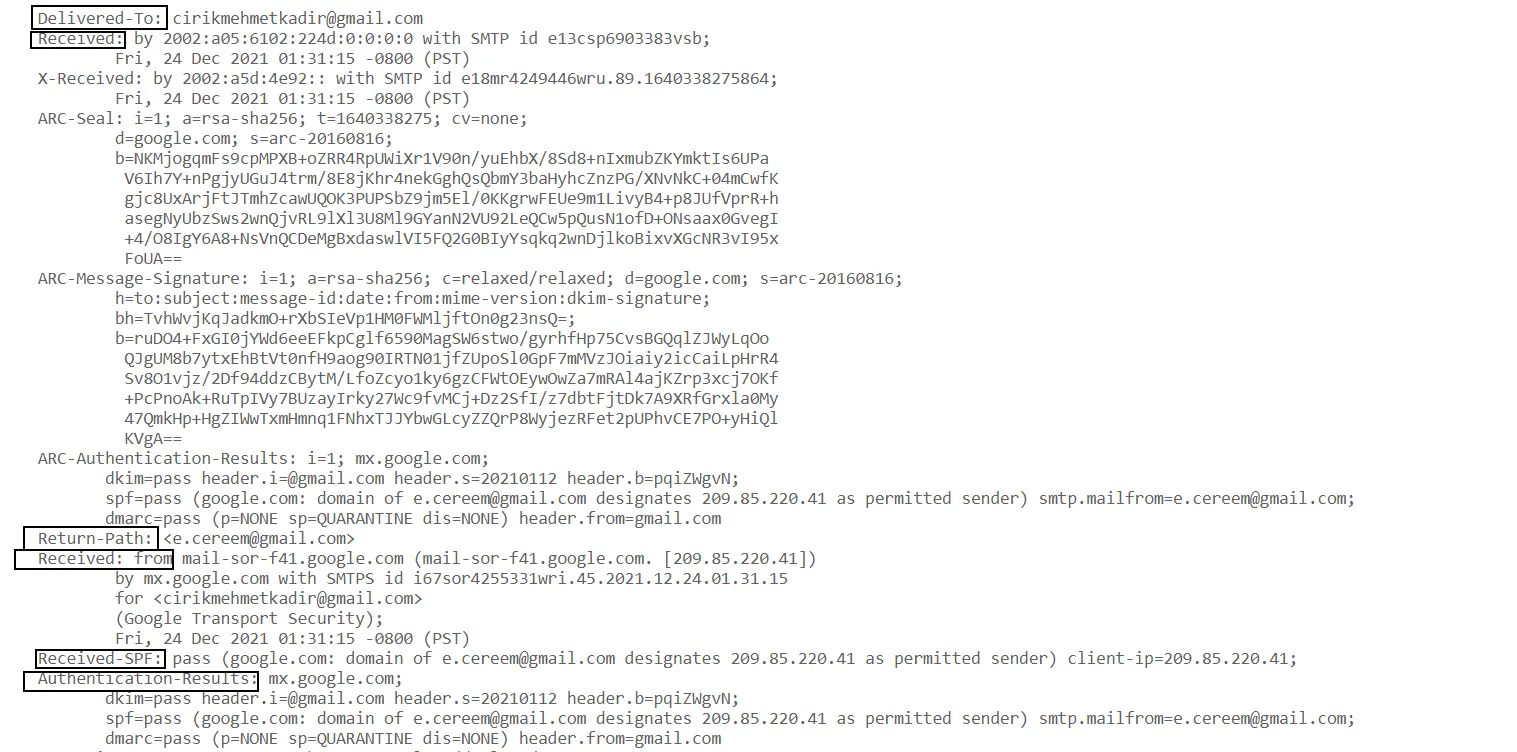
1) Delivered-To: the email address it was delivered to
This email header field contains the intended recipient’s email address. It’s one of the important parts to check during email analysis. If the email address here doesn’t match the recipient’s actual email address, this could be an email that requires closer examination.
2) Received By: received
This field contains the details of the last SMTP server visited. This information includes:
- The server’s IP address
- The SMTP identity of the server visited
- The date and time the email was received by the SMTP server
3) X-Received
Some email parameters are not defined in the Official Internet Protocol Standards and are referred to as non-standard headers. These are generated by mail transfer agents, such as Google’s mail SMTP server, that use the X-Received field to share non-standard information. This field shares the following details:
- The IP address of the server(s) that received the message
- The server’s SMTP ID
- The date and time the email was received
4) Return Path - return path
This field contains the email address to which the message will be returned if it cannot reach the intended recipient. This can easily happen if the sender used an incorrect email address for the recipient. In other words, this notice reaches the sender.
5) Received From - sender
It’s one of the most important fields in an email header, since you can find the sender’s IP address along with other details such as the hostname.
This field contains information about the first SMTP server the email reached. The following details can be found here:
- The IP address related to the server
- The recipient’s email address
- Encryption information
- The date and time the message was received
6) Received-SPF
Sender Policy Framework (SPF) is an email security protocol used to verify the sender. The system only forwards the message after the sender’s identity has been verified. The technique uses the domain address for authentication and adds the check status to the header field. The following codes are used:
- Pass: The email source is valid
- Softfail: A forged source is possible
- Fail: The source is invalid
- Neutral: It’s difficult to determine the validity of the source
- None: No SPF record was found
- Unknown: SPF check could not be performed
- Error: An error occurred during the SPF check
7. Authentication Results
Mail transfer agents apply a series of authentication techniques before processing email messages. The results of these techniques are added to the header field of the messages, separated by semicolons.
Authentication Results shares the identity of the server that performed the authentication, which is of major importance in email header forensic analysis. It also shares the authentication techniques used, along with their results.

8) DKIM Signature
The DKIM signature header field is added to an email message to share the details of the sender, the message, and the public key required to perform message verification. Many email platforms, such as Gmail and Outlook.com, support this field to verify email authenticity.
Email Header Parsing Tools
Once you have a copy of the email header, you can analyze it using one of the following email header analysis tools. These tools are;
- G Suite Toolbox Messageheader
- Mx Toolbox
- What Is My IP?
- Mailheader.org
- Gaijin
Mail Header Analysis Using Tools
In this section, I copied the same mail header and tried analyzing it using 2 different tools.
1. “Header” Analysis Using Mx Toolbox
Here, I pasted the email whose header I had copied and moved on to the analysis stage.
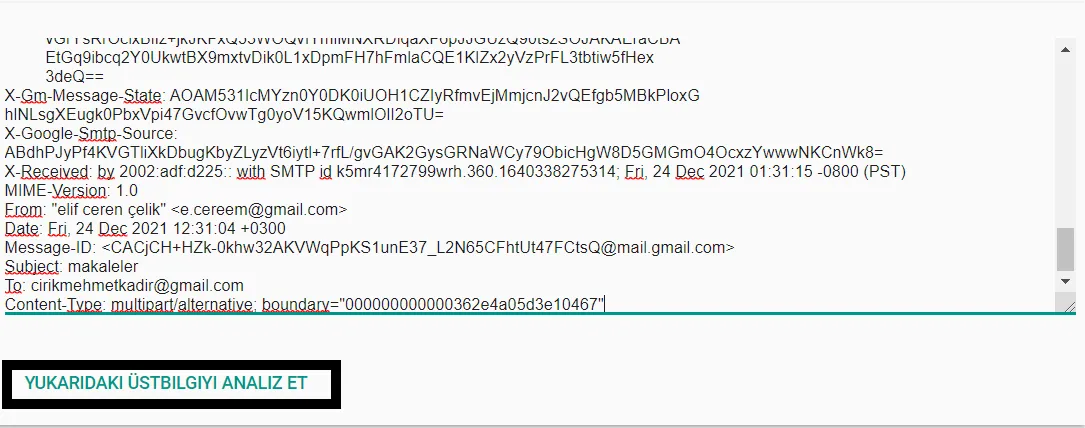
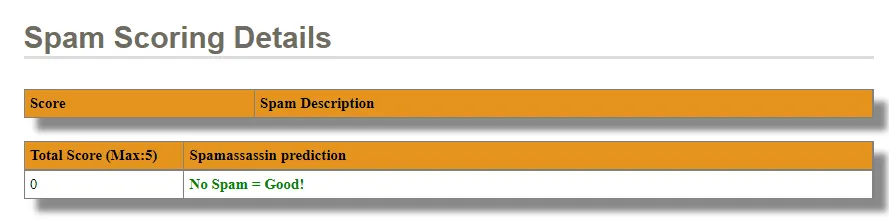
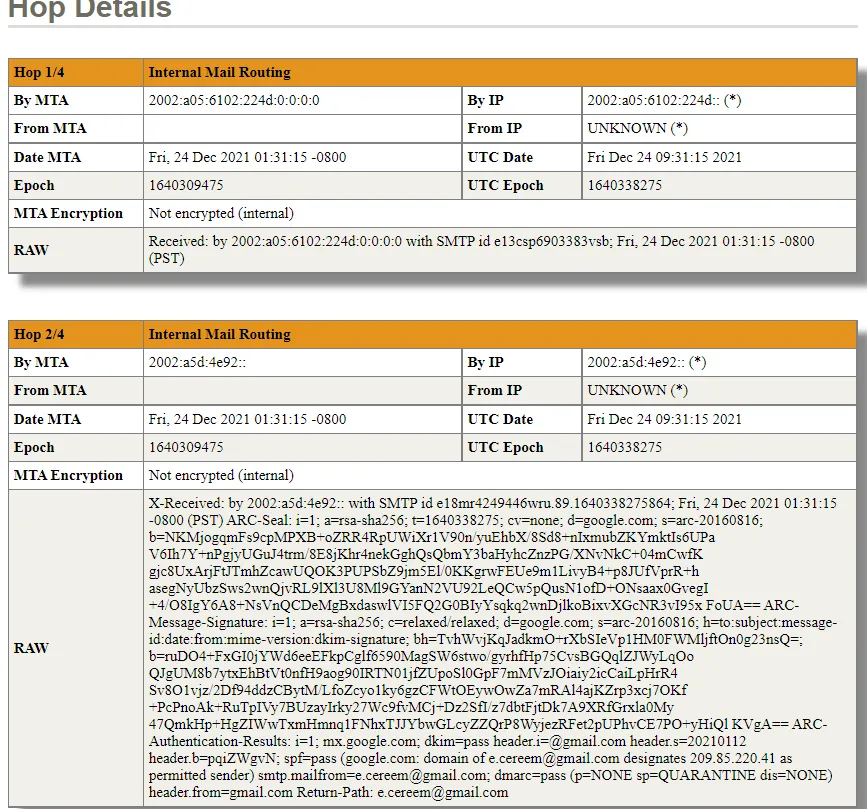
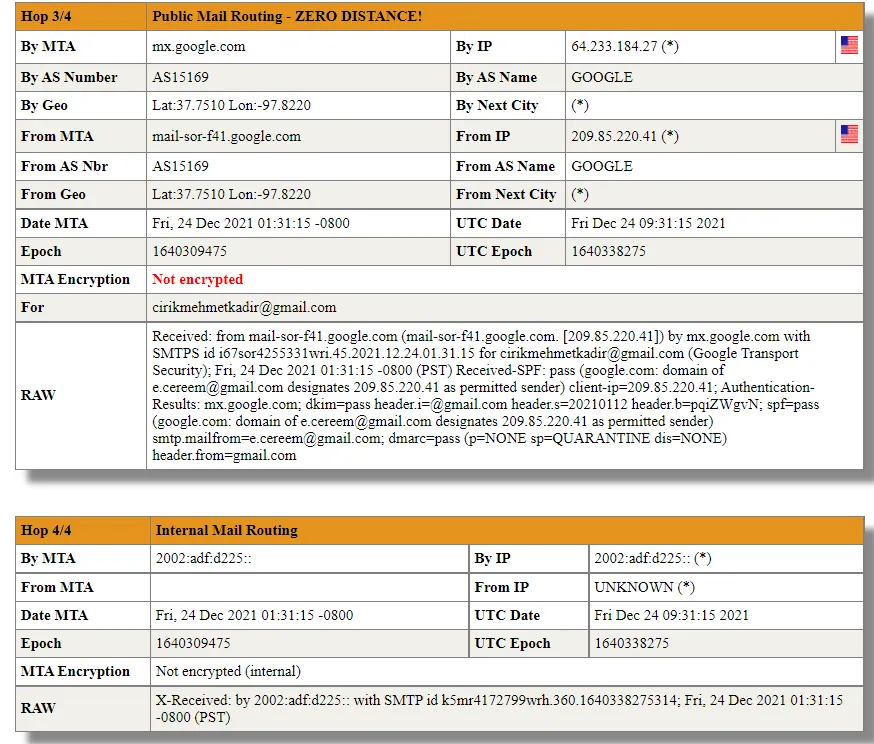
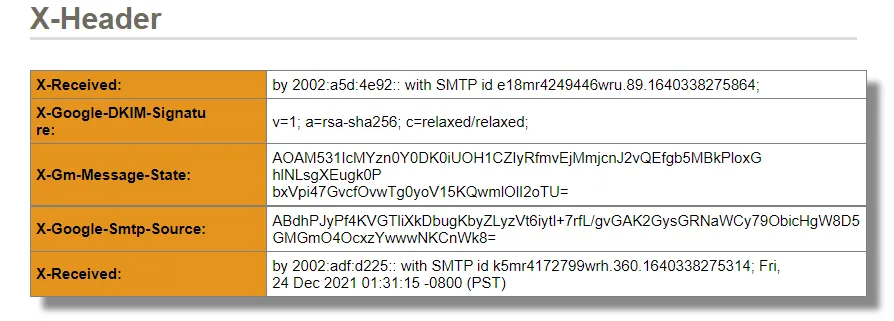
And as shown in the images below, it allowed us to automatically analyze the header.
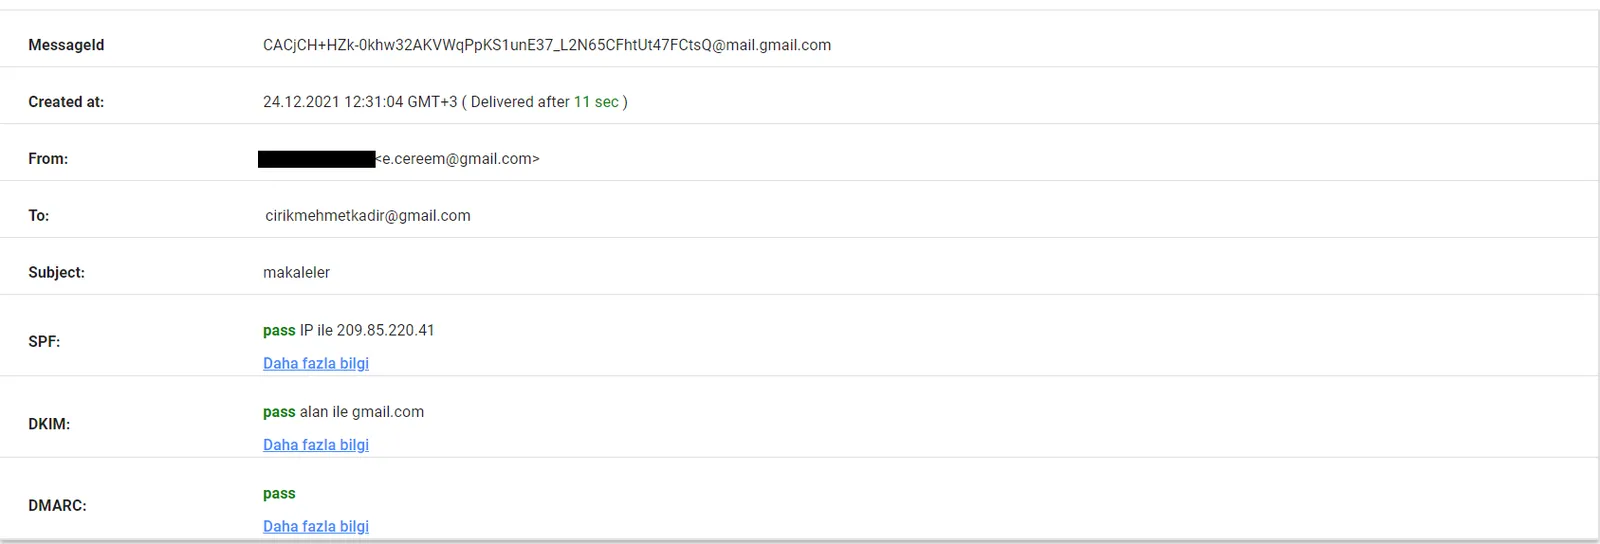

2) “Header” Analysis Using Mailheader
In this section, we again paste the header we copied into this field.
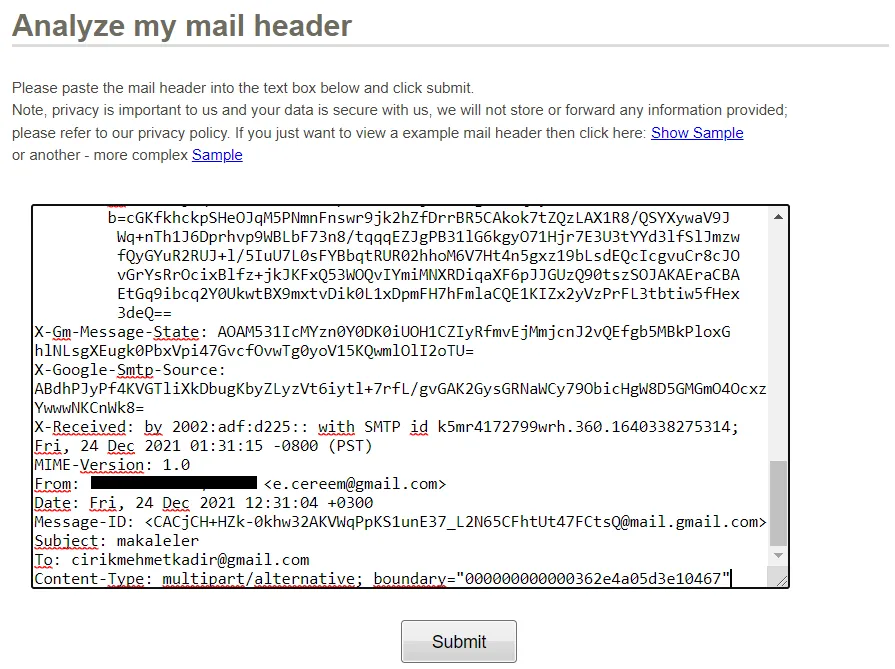
From the resulting output, we can view a detailed analysis of the mail’s content and header.

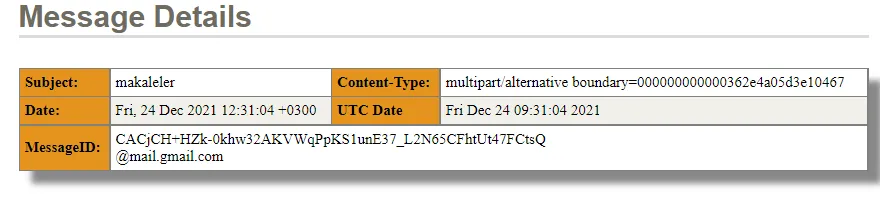
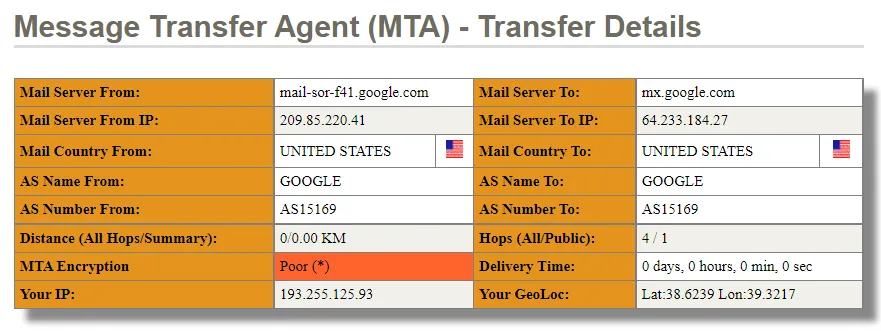
Thank you for reading this far, I hope it was useful. :)